Image Control
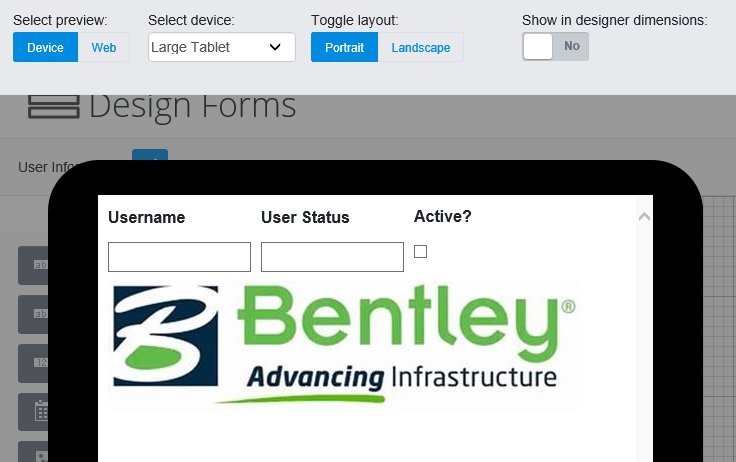
The Image control is used to add an image to the form.
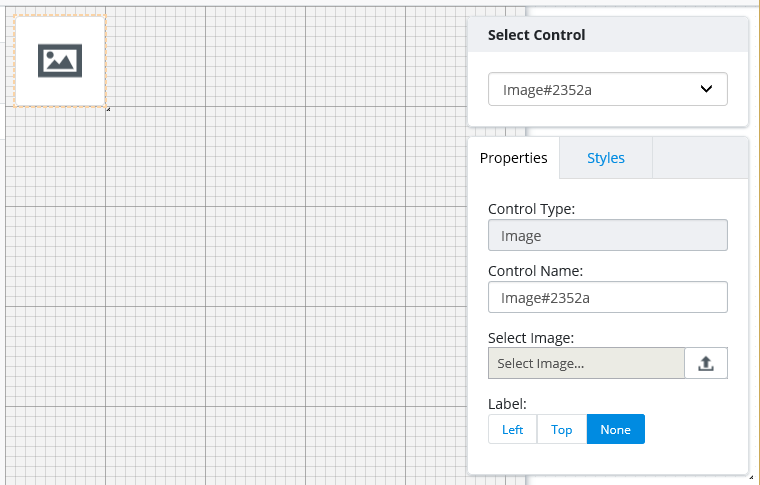
After you add the Image control to the form, from the
Properties tab, upload an image by clicking or tapping the Select Image
 icon. The
Select Image dialog opens.
icon. The
Select Image dialog opens.

From here you can select an image from the current
datasource, or add a new image by either dragging the image to the Select Image
dialog, or selecting
Browse. If you are adding a new image, click
Upload (after you add the image to the dialog) to
upload the new image to the datasource (or click
Remove if you do not want to add the new image).
Images that have not yet been uploaded display the Not Yet Uploaded
 icon in the bottom left. When you
have selected the image or uploaded the new image, select
Save to add the image to the form.
icon in the bottom left. When you
have selected the image or uploaded the new image, select
Save to add the image to the form.
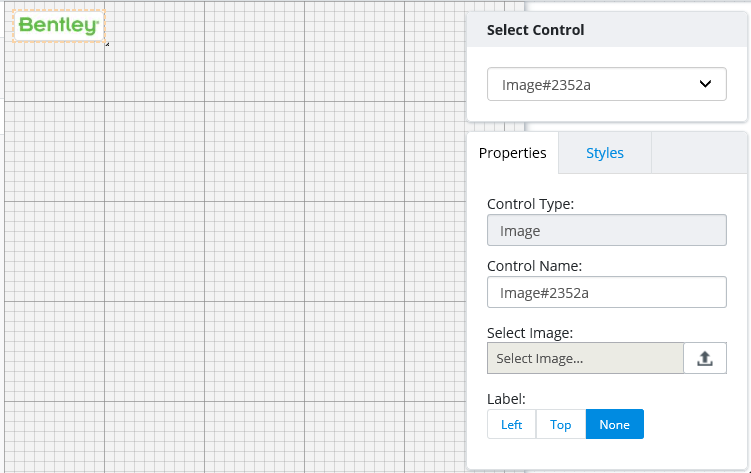
If the image does not already have a label, you can add a label to it by selecting or on the Properties tab.